


Do you ever just have a weekend where you seem to get more done than you thought your procrastinating self was capable of? That was me over the last couple days. From groceries, to general errand running, to cooking my grandma's delicious chicken flavored rice. And finally, in the midst of all these other things, I went out and bought a can of highly needed spray paint. As a result, I became slightly addicted to painting anything I could get my hands on. Which brings me to my first DIY project in what should be called an Addicted to Gold series.
WHAT YOU'LL NEED:
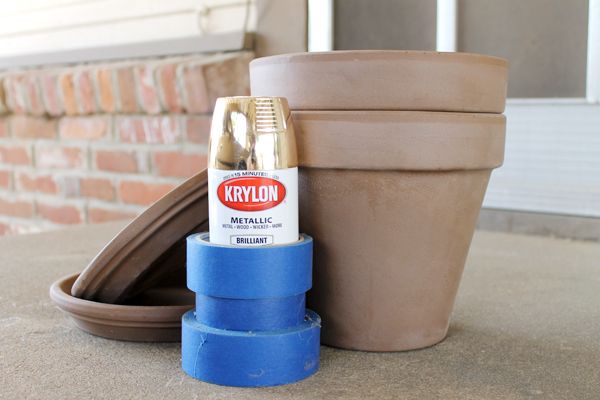
• Spray paint color of choice (I used Krylon metallic gold)
• Planter pots
• Painter's tape/anything to protect the parts you don't want painted.
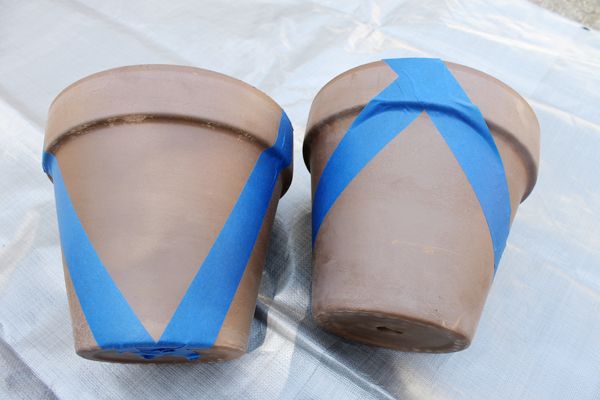
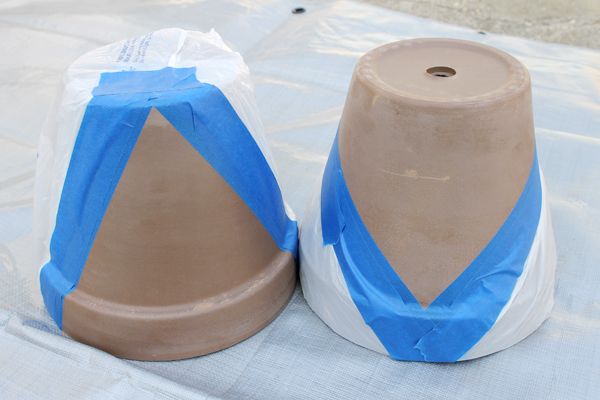
Tape off whatever design your heart desires. Remember to go over the edged really carefully to create a tight seal. I cut open a couple of plastic bags and taped them along the edge to make sure everything I didn't want painted was covered.
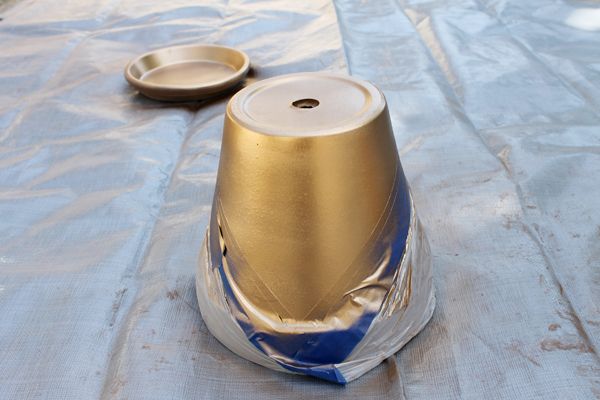
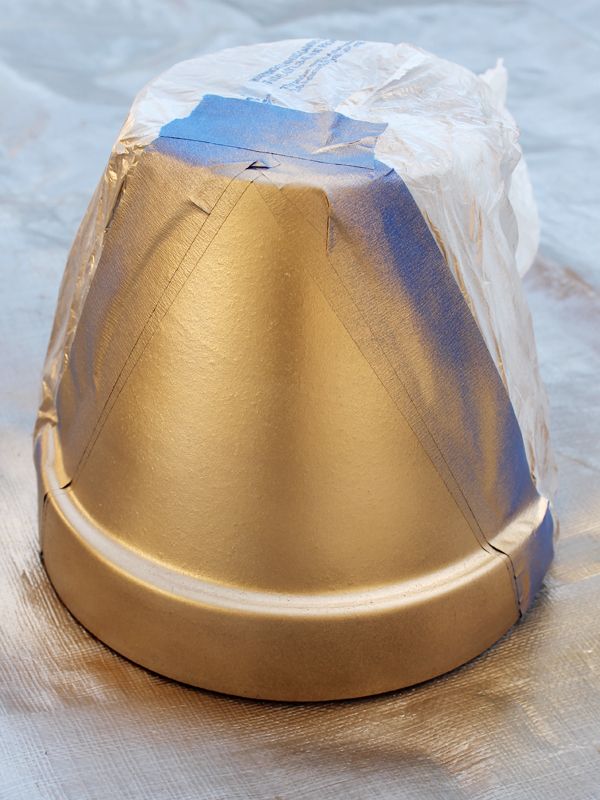
Spray away! I chose not to use primer on these, and I was still satisfied with the result I got. I did three coats on each piece, giving a couple of minuted in between each coat, which a good half hour after the last coat to let them dry in the sun. The can says it only takes fifteen, but...whatever. When you're certain that your color is even and you won't smudge it by touching it, go ahead and peel the tape away.

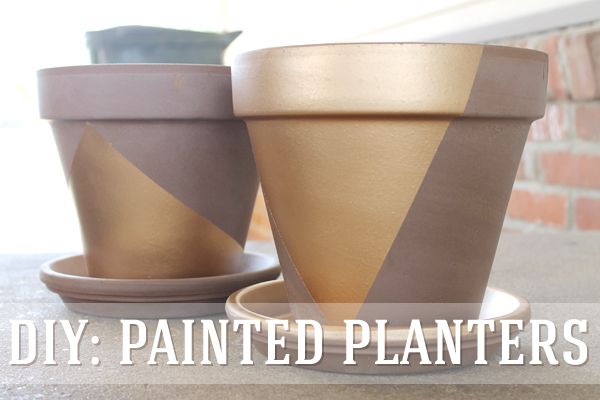
And voila! I bought some red and multi-colored poppies and planted them in these yesterday. I can't wait to watch them spring up!
0 comments:
Post a Comment